Introduction / Objectives:
This lesson explains you how to connect a PS-2 keyboard to an Arduino UNO. As you already know, keyboards are considered input for the computer and will be the same for an Arduino board. The sketch you'll upload read what you typed on the keyboard and display the correspondent text on the Serial monitor.
Part list:
1 Arduino UNO
1 PS2 Keyboard
Optional:
1 PS2 female connector with wires to solder
Instructions:
Overview
Perhaps sometime you'd like to interact with your Arduino in the same way you do when you use a computer or rather, through the keyboard!
Christian Weichel and Paul Stoffregen have created a library to interface Arduino with a PS2 Keyboard. This thing will facilitate you the job.
Just two words about the PS2 protocol
PS2 keyboards are easy to interface, requiring only 5 volt power and 2 signals. The connector pinout is:

As you seen in the picture above, the communication is based on a bus with two lines: one for the clock and one for the data. The clock signal is generated by the keyboard, and when both the signal are in the high logic state the keyboard is ready to send data to the host.
Data packet are composed by a start and stop bit, 8-bit of information and one parity bit.
Data packet are composed by a start and stop bit, 8-bit of information and one parity bit.

The transmitted packet is called “Scan Code” and exists only 2 tipes of that:
- make codes: sent when a key is pressed or is hold.
- break codes: sent when a key is released
Every key is associated to a pair of < make code / break code > so the host can recognize exactly what was happen and to which key, simply watching the single scan code. The set of make and break codes is called for the key is called scan code set and is stored in a matrix inside the keyboard controller. It’s important to keep in mind that the codes sent uniquely identify a key on the keyboard and not a character: is not defined any relationship between ASCII and scan code.
The translation from scan codes to ASCII codes is the responsibility of the host, in our case Arduino UNO is the host and the library performs the encoding to ASCII.
Implementation on Arduino
Download the PS2Keyboard Library, decompress the the archive and place it into your “libraries” directory, located in your sketchbook.
Connections:
| PS2 Keyboard | Arduinno Pin |
|---|---|
| GND | GND |
| +5V | 5V |
| Clock | Digital 2 |
| Data | Digital 8 |
The library comes with one example so, open the Arduino IDE and open the sketch you find in this path: File > Examples > PS2Keyboard > Simple_Test.
In order to work with the Arduino UNO this sketch need one simple setting, as described in the comment at the beginnig of the code Arduino UNO have only two external interrupt pin (IRQ), located on Digital 2 and 3. So in the variable declaration you need to change the:
const int IRQpin = 5;
to:
const int IRQpin = 2;
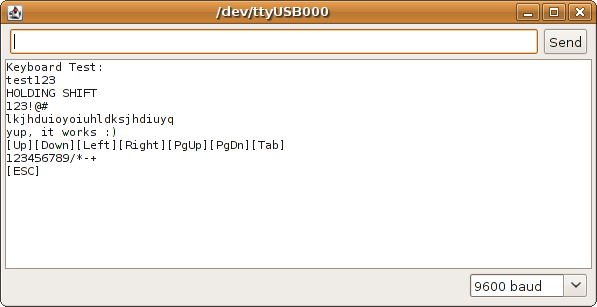
After this adjustment upload the sketch on your board and open the Serial Monitor, be sure that the baudrate is setted to 9600. On the window will appear all the keystrokes, like this:
Images:


